It is easy to ignite, adjust and shut down the oxyacetylene torch, especially when following the correct procedure. In addition to these easy-to-follow instructions, you must always ensure that the welding torch manufacturer's operating procedures are followed.
First-before attempting to light the flashlight, please perform the following checks:
Make sure to unscrew the regulator pressure adjustment screw!
Make sure the flare valve is closed!
Away from the front of the regulator
Slowly open the oxygen cylinder and acetylene cylinder valves, respectively
Adjust the pressure regulator screw
Open/close the torch valve separately and fine-tune the pressure setting on the regulator
If necessary, press the cutting rod and adjust the pressure
Ignite and adjust the welding torch (using a positive pressure/isobaric mixer):
Purge oxygen and gas lines separately
Open the gas valve 1/2 turn
Ignite the flame with a firing pin
Increase the gas flow until the flame leaves the end and there is no smoke
Lower until the flame returns to the top
Open the oxygen valve and adjust to neutral flame
Depress the oxygen rod and make necessary adjustments
Turn off the welding gun (with positive pressure/isobaric mixer):
Close the oxygen torch valve
Close the gas flare valve
If the torch/regulator and gas are temporarily out of service, follow the procedure below:
Close the oxygen cylinder and gas cylinder valves
Purge oxygen and gas lines separately
Make sure all regulator meters read 0
Unscrew the regulator pressure adjustment screw
When using oxygenated fuel equipment, remember to always follow basic safety rules.
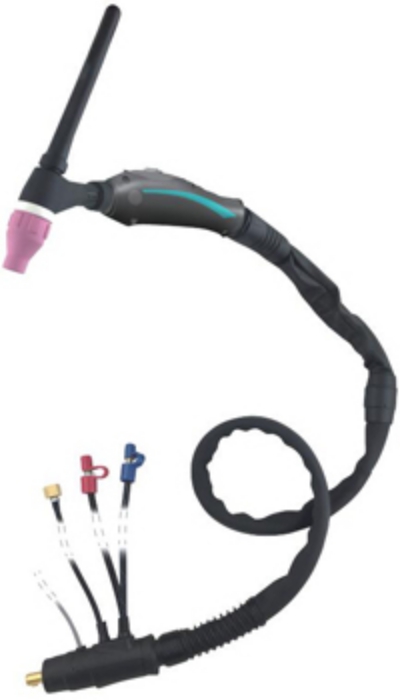
Our company provides welding torch.


