This article aims to teach you how to use a flux-cored arc welding machine. This machine is one of the most basic welders on the market today and has a reputation for being user-friendly and cost-effective. Although you can get away with some limitations on this machine, it is an excellent welder for beginners and is perfect for non-structural decorative welding.
Step 1: Safety
The first and most important thing to consider when using any type of welder is safety. The electricity required for arc welding is not only very hot, but it also produces dangerous UV rays that can easily damage your eyes if you look directly at it. This is why you should always use appropriate personal protective equipment (PPE) when working on a welding project.
This includes, but is not limited to: safety glasses, a leather welding jacket, welding gloves, and of course a welding mask (also known as a welding hood). It also helps if you have long trousers and open-toed shoes. Flux cored wire arc welding (FCAW) is known to produce a lot of sparks which can easily burn any unprotected area of your body, so cover up! These sparks can also easily cause a fire.
Having said that, welding is a fun and exciting way to make things out of metal, and with some practice the potential to make some really cool things is endless. So, let's get started.
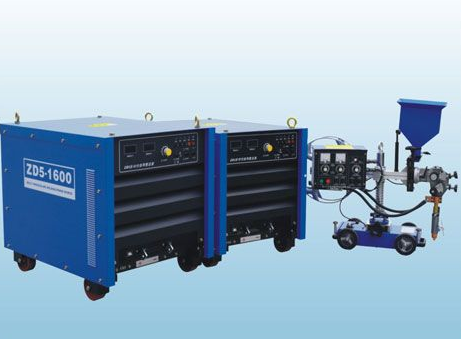
Thyristor Rectified Automatic Submerged Arc Welding Machine
Step 2: Gather the necessary equipment
Before you start welding, you need to make sure you have all the tools you need for your project on hand. The following list should contain everything you need for the duration of your welding project.
Goggles
Welding mask
Gloves
Leather jacket
Ear protection
Pliers
Chisel hammers
Steel wire brushes
Grinders with cutting/grinding/wire wheels
Clamps
Magnets
Tape measure/metal ruler
Fume extractors
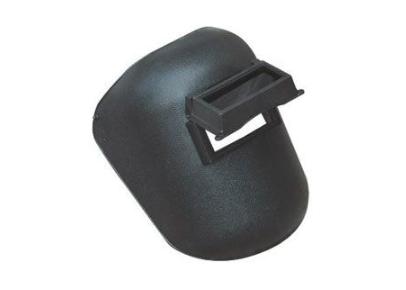
Welding Mask And Safety Mask
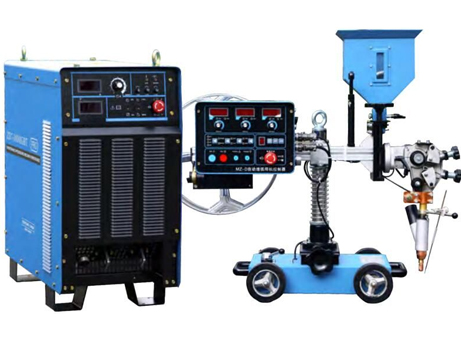
Inverter Automatic Submerged Arc Welding Machine
Step 3: Clean the metal
Although FCAW is known for its ability to avoid welding dirty metal, it is still important to clean the area of metal you plan to weld. This is usually done with some sort of wire brush, grinder, or, better still, a grinder with a wire wheel. Removing contaminants such as rust or paint will greatly improve the quality of your weld, so it is always a good idea to take the time to clean the project before you start welding.
You should always take steps to ensure that the metal you plan to grind is safe before bringing the grinder to your workpiece. This is usually done using clamps, but it is best not to use spring-loaded clamps as they do not always apply the necessary force to hold the metal in place while grinding it. Welders usually prefer bench vise or C-clamps as these tools allow the welder to control the amount of pressure applied to the workpiece.
Once the metal is held in place, you can grind freely until you have removed most of the material that is blocking the bare metal. When grinding, ensure that any sparks are directed in a safe direction (i.e. not toward people or flammable objects).
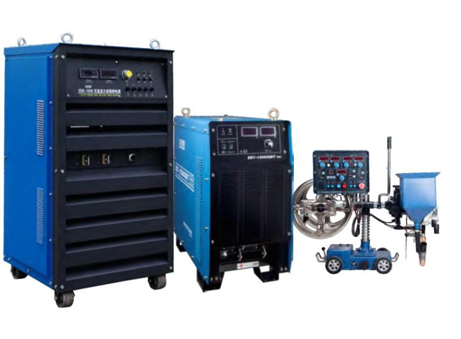
MZE-3 Automatic Tandem AC/DC Submerged Arc Welding Machine
Step 4: Cutting the metal
In addition to welding metal that has been adequately cleaned, you should also ensure that your metal has been cut to the correct length. Cutting the metal correctly can be more difficult than actually welding, depending on the tool you are using.
Accurate cutting starts with an accurate scribe or mark on the workpiece. This is usually done using a soapstone or felt-tip pen and a straightedge ruler. Once you are happy with the markings, you can start cutting your workpiece. When cutting extended lengths of sheet metal, it is best to use some sort of guide to ensure straight cuts, such as corners or rectangular bar stock. For each cut, you should clamp the workpiece so that it does not move anywhere once you have started cutting.
Step 5: Setting up your workpiece
After cleaning the metal and cutting it to the right size, it's time to set up the workpiece so you can easily spot weld it together without having to fight with it too much. For mass production work, you'll usually design some sort of fixture here that allows you to easily hold the part in place without having to think about it.
It is important to ensure that the parts you intend to weld are fixed in the exact position you plan to weld them. Welding loose material can lead to countless errors and can add unnecessary extra work to your project, so make sure you check your workpiece twice and three times before putting down your first spot weld. After you've got everything lined up, it's time to start welding!


